Be prepared for more than just the PMP® and PMI-RMP®. Be prepared for real life risk management!

Risk identification is one of the most foundational yet misunderstood parts of risk management.
Whether you’re preparing for the PMI-RMP® exam or leading your first Risk Assessment Workshop, it’s easy to feel overwhelmed.
- Where do you begin?
- What tools should you use?
- How do you know you’re doing it right?
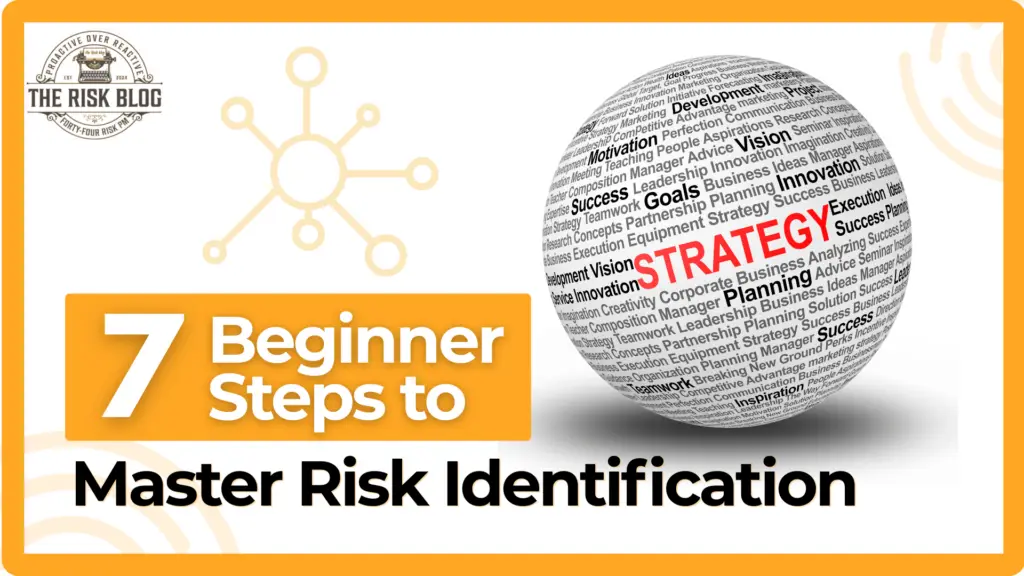
This guide quickly walks you through seven beginner-friendly steps to master risk identification with confidence.
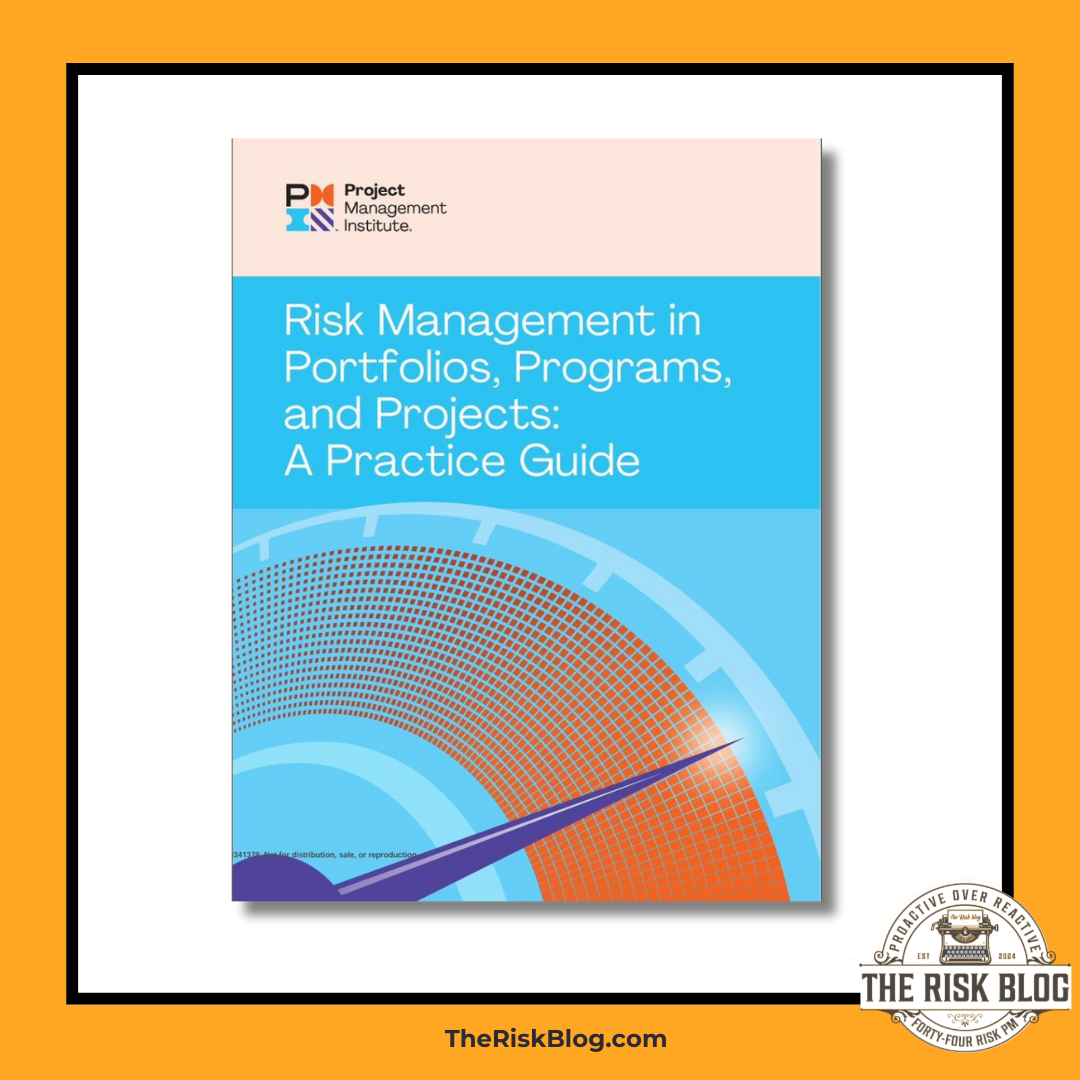
These steps are aligned with the PMI-RMP® Exam Content Outline, especially Domain 1 (Risk Strategy and Planning) and Domain 2 (Risk Identification). They also reflect best practices from the PMBOK® Guide and the Risk Management in Portfolios, Programs, and Projects: A Practice Guide.
By the end, you’ll understand each step, know how to apply it in your projects, and feel more prepared for both the exam and real-world facilitation.
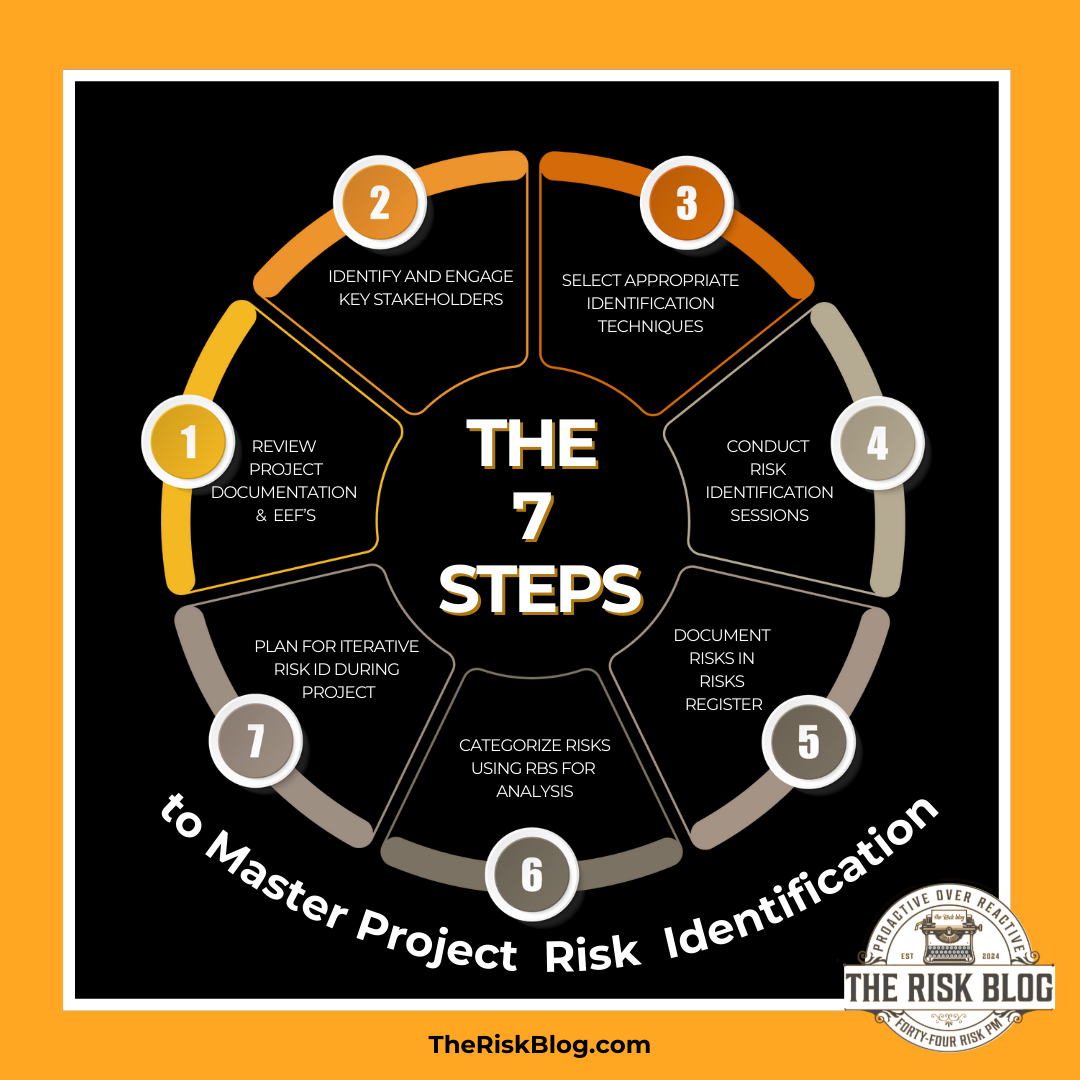
Step 1: Review Project Documentation and Enterprise Environmental Factors
Before you can identify risks, you need context. Start by gathering and reviewing key project documents. These typically include:
- Project charter
- Scope statement
- Work Breakdown Structure (WBS)
- Project schedule and budget
- Lessons learned from previous projects
Also consider Enterprise Environmental Factors (EEFs), such as:
- Industry standards and regulations
- Political or legal climates
- Organizational culture
- Existing risk management policies
This review helps you understand the internal and external environment in which your project operates. It also ensures you don’t miss risks that are already known or likely to recur.
This is also information that you shouldn’t keep secret to yourself. As the PM, you will not always have all the answers. Make sure your team knows and understands all of this information as well, especially anyone who will be involved with the Risk Workshops!
Step 2: Identify and Engage Key Stakeholders
Stakeholders are a goldmine of risk insight. Unbuild a RACI Chart and involve them early. This helps you:
- Uncover hidden or emerging risks
- Build buy-in for the risk management process
- Ensure alignment on risk tolerances
Use tools like stakeholder analysis, interviews, and facilitated discussions. Consider who may influence or be affected by project outcomes: executives, customers, vendors, and team members.
Bring these stakeholders into the planning. Get them, or their delegates, integrated into the project team and involved with the whole identification process. They are key players for identifying those risks not easily seen by the untrained eye.
Tip: Engaging stakeholders in risk discussions is not just a box to check—it’s a strategic move that will improve both identification and mitigation efforts later.
Step 3: Select Appropriate Identification Techniques Based on Project Context
No single technique works for every project. Choose methods that align with your project’s complexity, industry, and available resources.
Some effective options include:
- Brainstorming (great for first risk workshops and cross-functional teams)
- Delphi technique (ideal for remote or expert-driven input)
- Checklists (useful when working with repeatable projects)
- Prompt lists like PESTLE or TECOP
- SWOT analysis (to identify threats emerging from weaknesses)
Use a combination when needed. For example, pair brainstorming with a checklist to catch both new and known risks.
When running a risk workshop, it is always ideal to start with brainstorming. Although using some forms of checklists, prompt lists, and surveys can help get the team moving in the very beginning of the identification process.
Step 4: Conduct Risk Identification Sessions (The Risk Assessment Workshop)
A structured Risk Assessment Workshop can be the centerpiece of your identification effort.
Here’s how to make it work:
Before the session:
- Distribute relevant project documents
- Clarify the objectives and agenda
- Select a neutral facilitator (if possible)
During the session:
- Encourage inclusive participation
- Use visual aids (e.g., flipcharts, whiteboards)
- Log every idea without judgment
After the session:
- Consolidate duplicates
- Clarify vague entries
- Prepare risks for documentation
This workshop is often the moment where cross-team alignment happens and the largest bunch of risks get identified for the project.
If done right, it builds shared understanding of what’s truly at stake.
[CTA for the Risk Workshop Course)
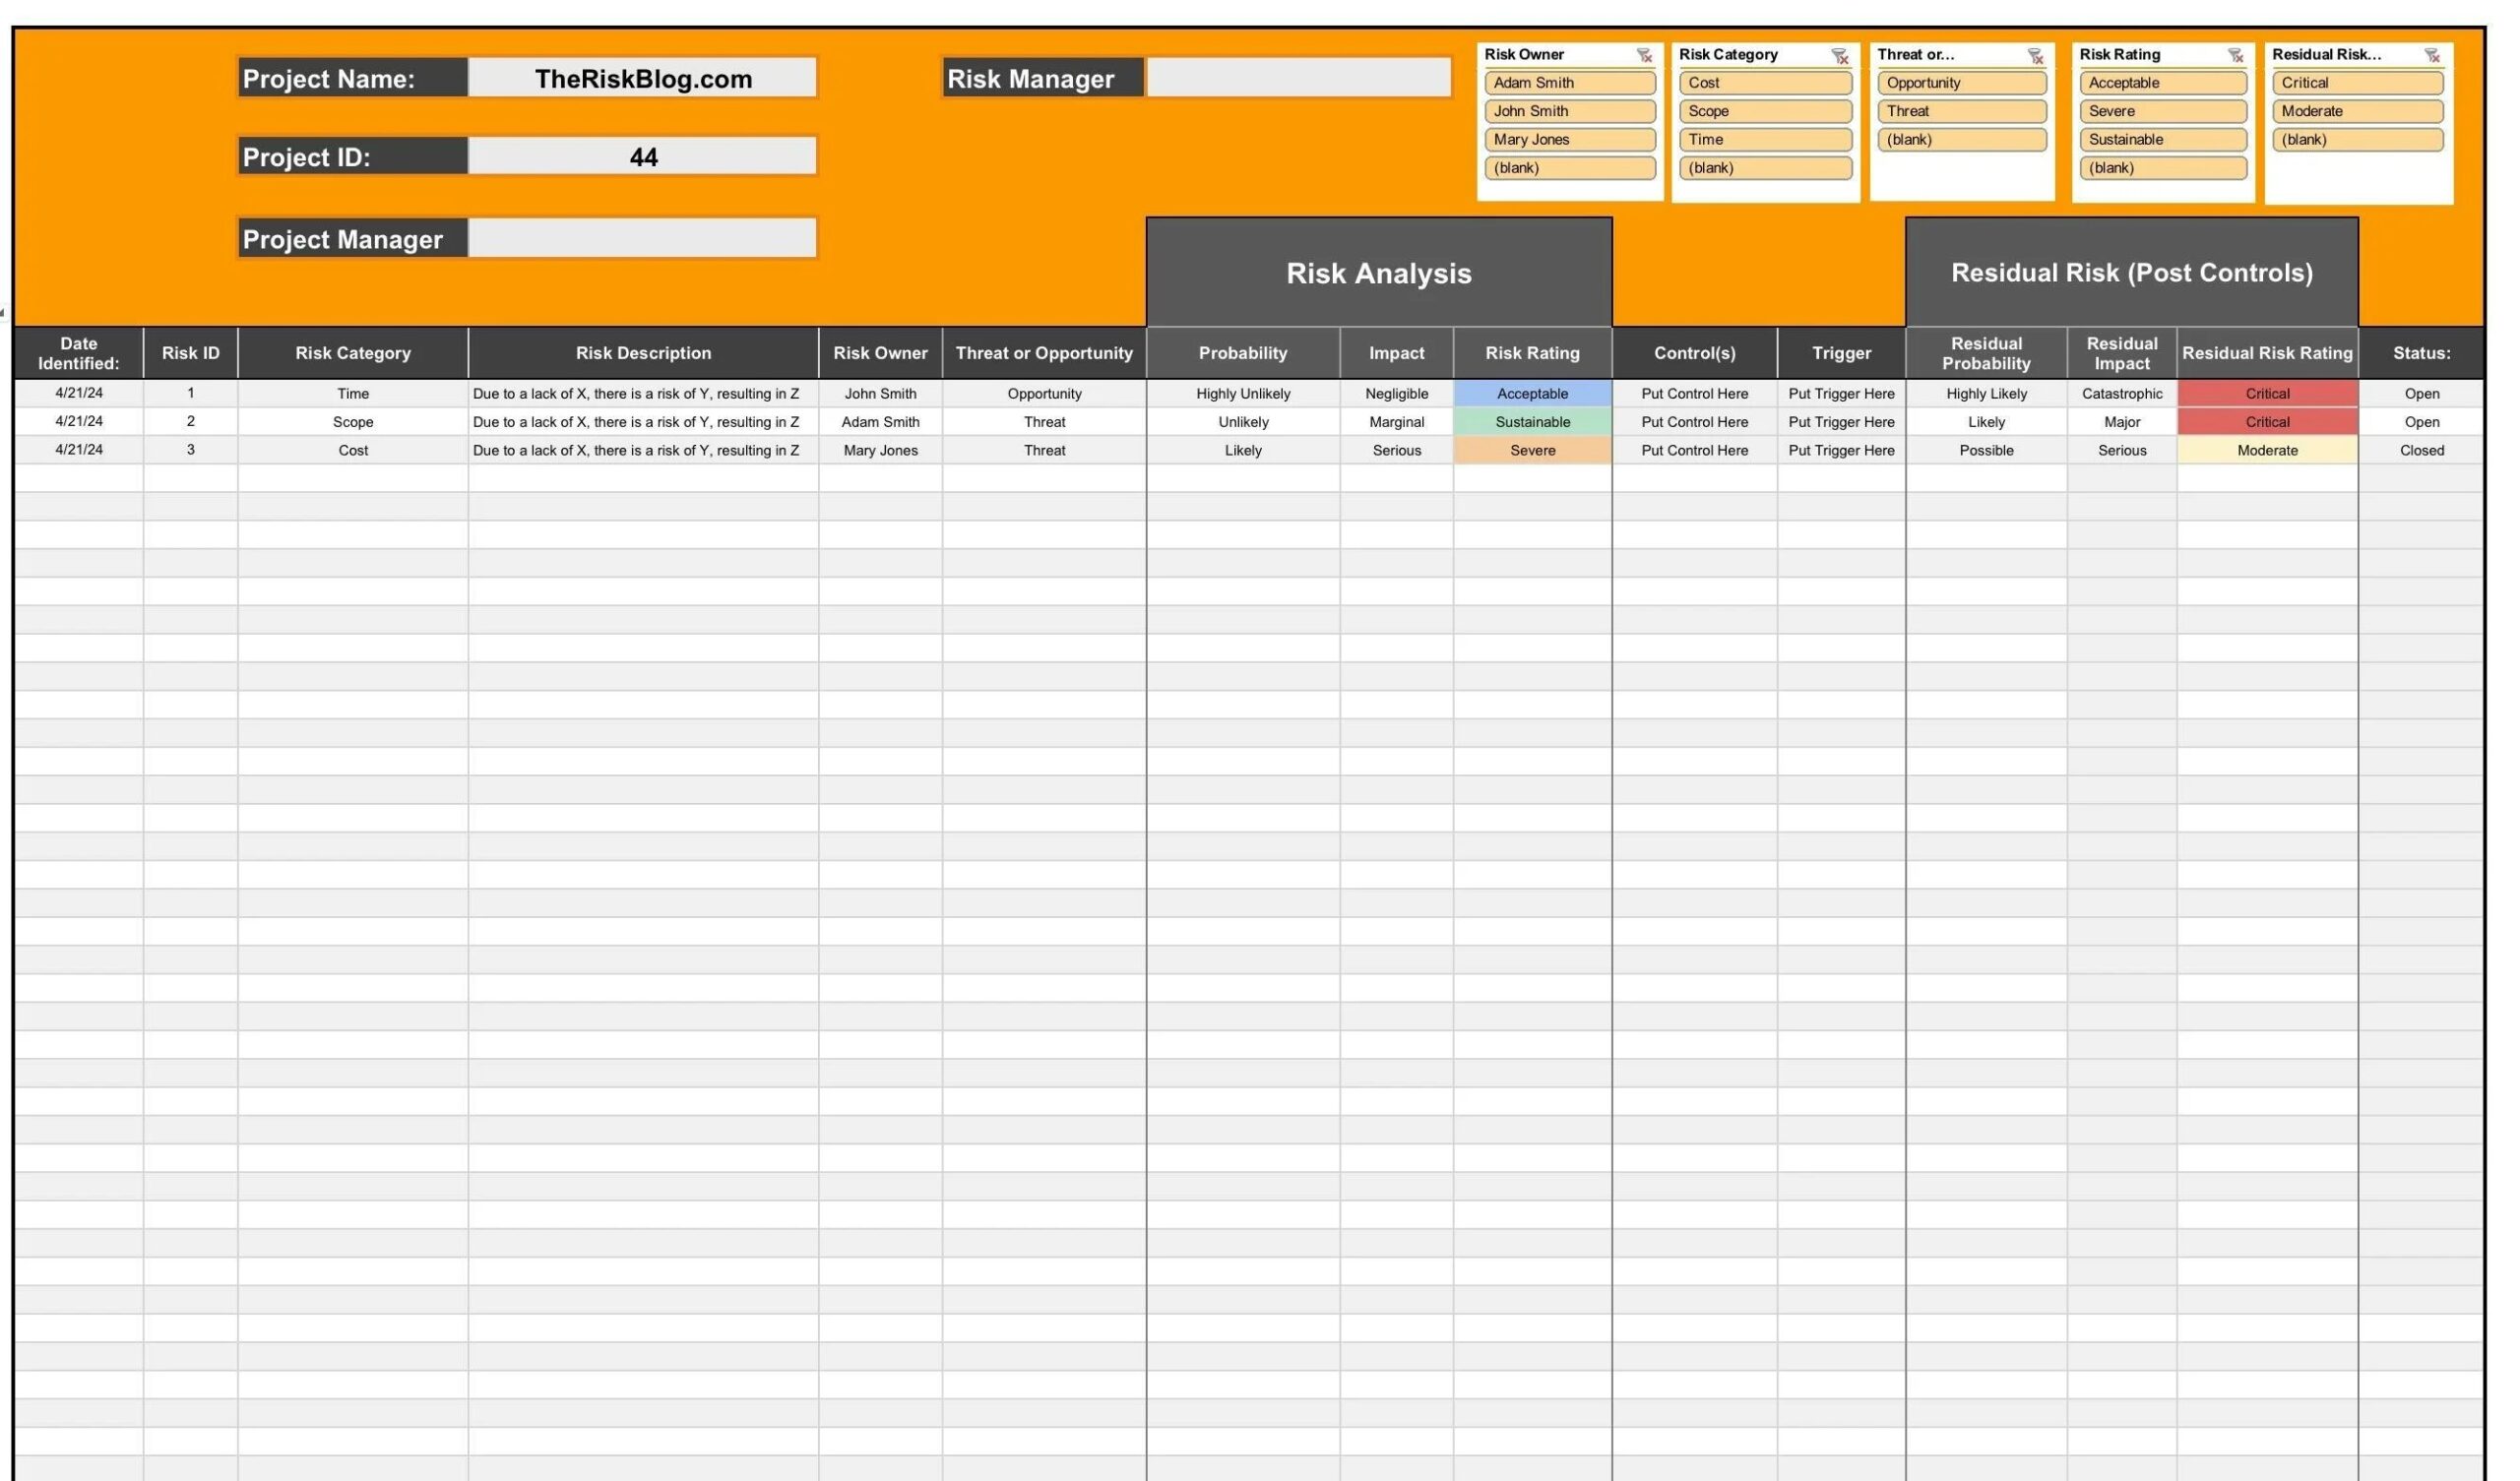
Step 5: Document Identified Risks in the Risk Register
Once identified, risks should be documented clearly in a risk register. At this stage, focus on:
- Risk statement (cause > risk event > impact)
- Category (technical, schedule, cost, external)
- Risk owner (who will monitor or manage it)
- Potential triggers or indicators
Avoid vague entries. Instead of “supply chain issues,” write:
“Delays in supplier delivery due to material shortages will result in a risk to the project timeline, resulting in a two week delay.”
Use a template or tool that fits your team’s workflow—even a spreadsheet can work effectively if maintained consistently.
Step 6: Categorize Risks Using RBS and Prepare for Analysis
The Risk Breakdown Structure (RBS) helps group risks by source. This makes it easier to:
- See concentration areas (e.g., most risks are external)
- Assign subject matter experts
- Prioritize during analysis
Categories might include areas such as:
- Technical
- Operational
- Financial
- Legal
- Strategic
The RBS should be built before going into the risk workshop, but it comes into play when refining your risk register to move into risk analysis. Categorization not only helps in sorting but also enables more structured qualitative and quantitative analysis.
While in analysis, you will refine the risk register and your RBS to show the critical and most important risks to the project.
Step 7: Plan for Iterative Risk Identification Throughout the Project Lifecycle
Risk identification is not a one-time task. It should be repeated at:
- Phase transitions (e.g., planning to execution)
- Major changes (e.g., scope change, vendor switch)
- Key milestones or reviews
Embed checkpoints into your risk management plan. A best practice is to have a reoccurring meeting to continue evaluating currently identified risks and bringing up new risks. Doing so ensures everyone is kept up to speed and new risks are inserted into the risk register!
And don’t forget to cotinue assigning roles for ongoing identification (e.g., risk owners, risk champion) and following up with each role for updates.
The goal is to stay ahead of new risks as the project evolves—and avoid surprises.
From Beginner to Pro
Mastering risk identification is both a technical and relational skill. By understanding these seven steps, you’re not only preparing for the PMI-RMP® exam—you’re also building a professional edge that will set you apart in any project environment.
These steps align directly with PMI’s standards and are adaptable to projects of any size or complexity. Practice them in your next Risk Assessment Workshop, and you’ll be leading with clarity and confidence.
And if you want to get a deeper dive into the Project Risk Identification process, get my course on How to Run a Risk Workshop!
[CTA for “How to Run a Risk Workshop]
Download Your Free Resource
Want a head start? Download my Risk Assessment Template for your next project:
This post is aligned with the PMI-RMP® Exam Content Outline and references the PMBOK® Guide and PMI Practice Standard for Risk Management. Always refer to PMI’s official materials when preparing for the exam.
The Risk Blog is a subset of 44Risk PM, LLC